Securing your CentOS 7 server with an SSL certificate ensures encrypted data transfer and builds trust with your users. In this step-by-step guide, we’ll cover two approaches to install an SSL certificate on CentOS 7 using Apache HTTP server (httpd):
- the manual method
- the automatic method using CertPanel AutoInstall SSL.
Requirements Before You Begin
- A CentOS 7 server with the Apache HTTP server (httpd) installed
- Root or sudo privileges
- A valid SSL/TLS certificate from a publicly trusted certificate authority (CA)
If you don’t have an SSL certificate, you can get one from us at some of the best prices on the internet.
Method 1: Manual Installation on Apache (CentOS 7)
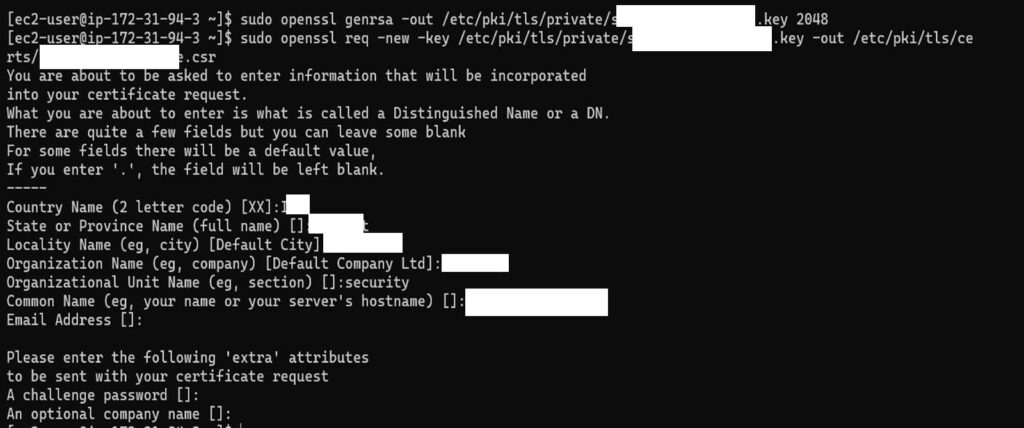
Step 1: Generate a CSR and Private Key for Your Domain
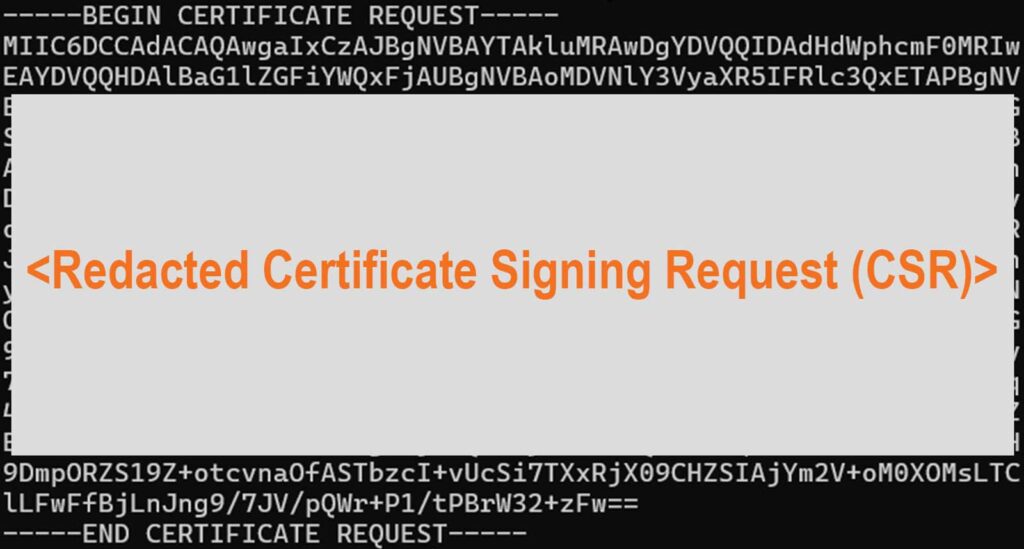
If you haven’t already, generate a certificate signing request (CSR) and private key using OpenSSL:
openssl req -new -newkey rsa:2048 -nodes -keyout security.test.site.key -out securitytest_site.csrFollow the prompts to enter your domain details.
Step 2: Upload the CSR to CertPanel and Complete Validation
This next step involves sending your certificate signing request to your certificate provider. If you’ve purchased a certificate from us, you can submit the CSR via the CertPanel dashboard.
- Log into CertPanel.
- Click Add Domain and upload your .csr file.
- Select a method of domain control validation (ideally, using DNS CNAME or HTTP file-based methods).

Once the domain is verified, download the issued certificate bundle, which includes:
- Domain certificate: securitytest_site.crt
- CA certificate bundle (intermediate chain): My_CA_Bundle.ca-bundle
Step 3: Upload Your SSL Certificate and Key Files to the CentOS Server
Use scp (the secure copy protocol) or tools like WinSCP to transfer these files from your local system to the server:
scp securitytest_site.crt ec2-user@your_server_ip:/home/ec2-user/
scp My_CA_Bundle.ca-bundle ec2-user@your_server_ip:/home/ec2-user/
scp security.test.site.key ec2-user@your_server_ip:/home/ec2-user/
Then move them into appropriate system directories using the following commands:
sudo mv securitytest_site.crt /etc/pki/tls/certs/
sudo mv My_CA_Bundle.ca-bundle /etc/pki/tls/certs/
sudo mv security.test.site.key /etc/pki/tls/private/
Set the correct permissions for the specified files:
sudo chmod 644 /etc/pki/tls/certs/*.crt
sudo chmod 600 /etc/pki/tls/private/*.key
Step 4: Create a FullChain File Required by Apache
Apache expects a complete certificate chain for proper SSL validation. Combine your domain certificate and CA bundle using the following command:
sudo bash -c 'cat /etc/pki/tls/certs/securitytest_site.crt /etc/pki/tls/certs/My_CA_Bundle.ca-bundle > /etc/pki/tls/certs/fullchain.pem'
Alternatively, if you’re running an older version of Apache and need to upload the separate files, you can do so using the following command:
SSLCertificateFile /etc/httpd/conf.d/yourdomain.crt
SSLCertificateChainFile /etc/httpd/conf.d/ca_bundle.ca-bundle
SSLCertificateKeyFile /etc/httpd/conf.d/private.key
Step 5: Update Apache Configuration to Use the SSL Certificate
To enable SSL in Apache2 CentOS 7, you must edit the Apache SSL configuration file:
sudo nano /etc/httpd/conf.d/ssl.confIn it, replace or update the <VirtualHost *:443> block to include the specified SSLCertificateFile and SSLCertificateKeyFile information:
<VirtualHost *:443>
    ServerName securitytest.site
    DocumentRoot /var/www/html

    SSLEngine on
    SSLCertificateFile /etc/pki/tls/certs/fullchain.pem
    SSLCertificateKeyFile /etc/pki/tls/private/security.test.site.key

    ErrorLog /var/log/httpd/securitytest.site.error.log
    CustomLog /var/log/httpd/securitytest.site.access.log combined
</VirtualHost>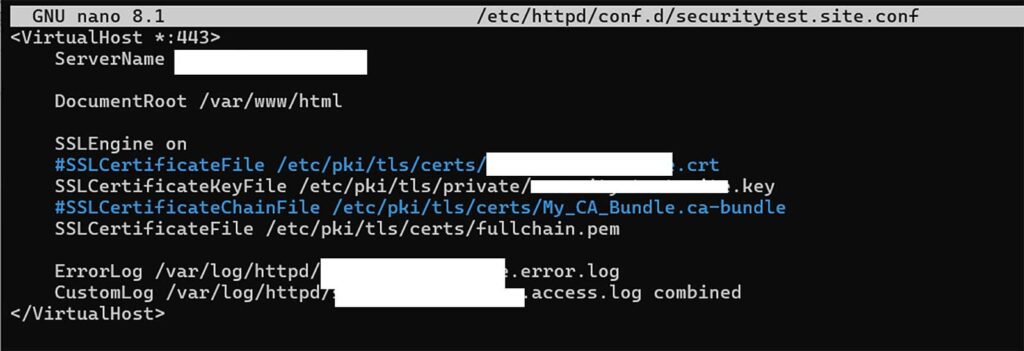
Step 6: Check Apache Configuration for Syntax Errors
Run the following command to test your configuration file for any issues:
sudo apachectl configtestHere’s what you should expect to see:
Syntax OK
Step 7: Restart Apache and Enable it on Boot
Restart your Apache server to apply the changes to its SSL configuration:
sudo systemctl restart httpdEnable Apache to run at startup:
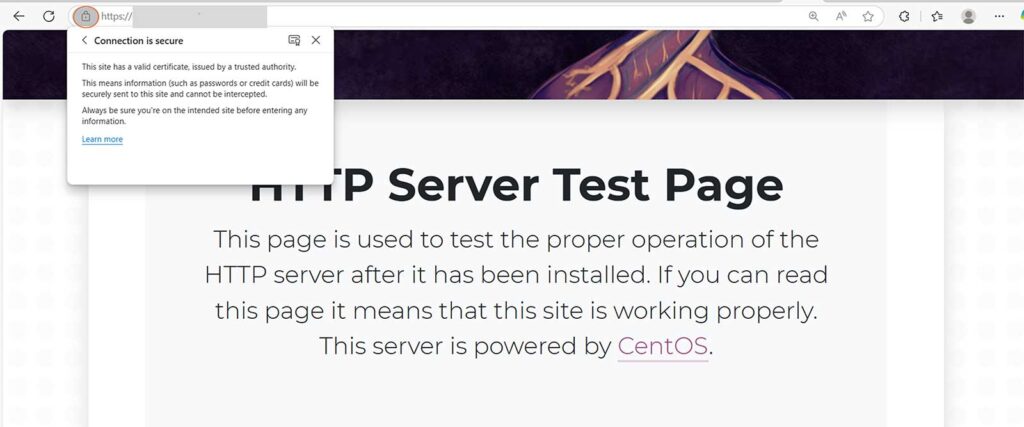
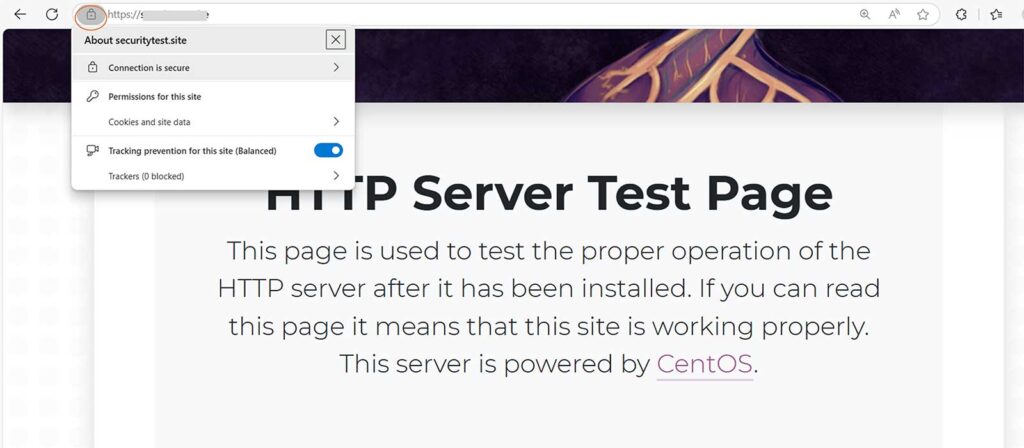
sudo systemctl enable httpdStep 8: Verify HTTPS Access in a Browser
Once you’ve rebooted your web server, you’ll want to test your domain in a browser to see whether HTTPS is enabled. If it is, you should see a secure padlock 🔒 in the address bar (deending on the browser) or a message stating that your connection is secure.
To troubleshoot, test SSL using:
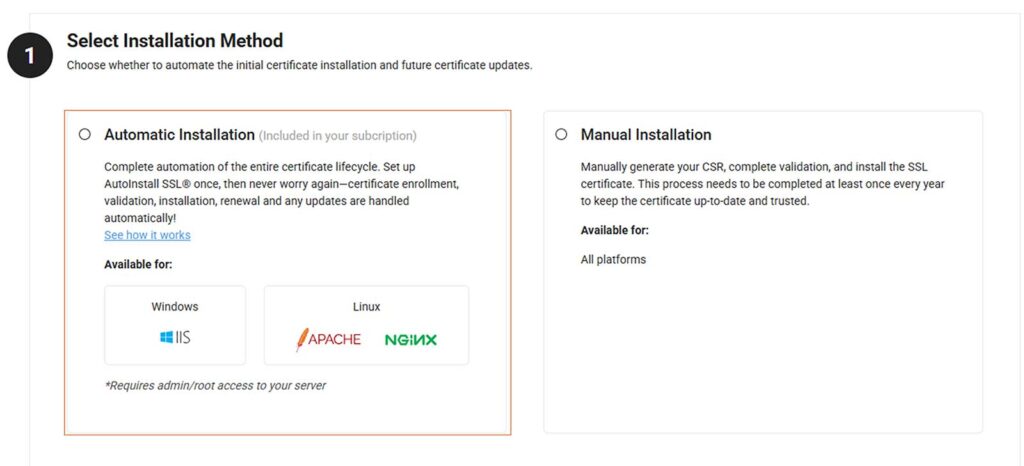
openssl s_client -connect <website>:443 -servername <website>Method 2: Automatic SSL Installation Using CertPanel on CentOS 7
CertPanel simplifies SSL deployment with an auto-install script for Apache. Here’s how to use it:
Step 1: Add Your Domain in CertPanel
Log into CertPanel, click Add Domain, and follow the prompts.
Step 2: Complete Domain Verification and CSR Process
CertPanel will walk you through the processes of generating a CSR and verifying your domain ownership (via DNS or file-based validation). To start the process, select your server type as shown below, as shown in the screenshot below:
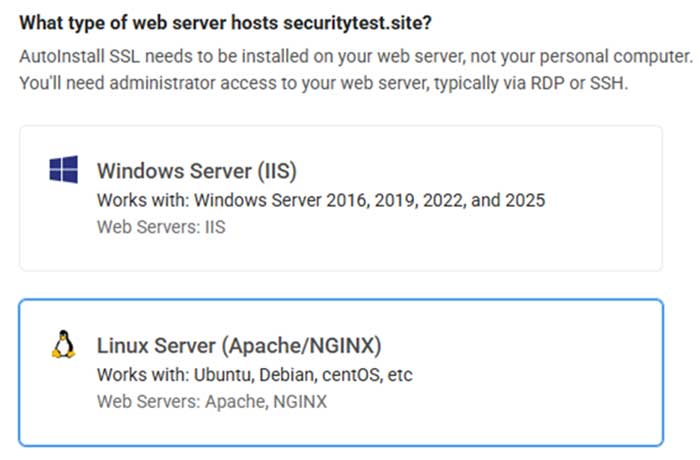
Next, select your preferred method of domain control validation.

Step 3: Download and Run the Apache Auto-Install Script
Once verified, CertPanel will generate a customized install script that automatically:
- Installs the certificate,
- Creates and configures the SSL virtual host, and
- Restarts the Apache service.
To initiate this process, all you must do is enter the following command:
sudo wget -qO - https://files.autoinstallssl.com/packages/linux/version/latest/get.autoinstallssl.sh | sudo bash -sTo execute it, enter the following command, which will include your AutoInstall SSL token:
sudo runautoinstallssl.sh installcertificate --token <tokenvalue> --includewww --validationtype file --validationprovider filesystem
That’s it! As you can see, using AutoInstall SSL to install an SSL certificate on a CentOS 7 Apache server is fast and easy. SSL automation gives you back a lot of time that can be spent on other tasks that require your human ingenuity, skills, and critical thinking.
Common Questions and Troubleshooting
Why does Apache return a ‘Failed to configure CA certificate chain’ message?
This error typically inicates one of the following issues:
- Your CA chain file is missing or incorrect
- The fullchain file (if you used one) is incomplete or misconfigured
Ensure the certificate and chain are properly combined as shown in Step 2.
Can I use a combined fullchain instead of separate files?
Yes! Doing so is recommended for modern Apache versions (although it’s not technically a requirement). Run:
sudo bash -c 'cat /etc/pki/tls/certs/securitytest_site.crt /etc/pki/tls/certs/My_CA_Bundle.ca-bundle > /etc/pki/tls/certs/fullchain.pem'Then update your Apache config:
SSLCertificateFile /etc/pki/tls/certs/fullchain.pemYou can remove SSLCertificateChainFile if using the fullchain.
What if my browser says the site is still “Not Secure”?
Try the following:
- Clear browser cache or test in Incognito
- Review Apache logs: sudo tail -n 30 /var/log/httpd/securitytest.site.error.log
- Use openssl s_client to verify the SSL chain
Tips for Managing and Renewing SSL on CentOS
- Renew your SSL/TLS certificate 30 days before it’s set to expire.
- Use CertPanel’s auto-renew feature to avoid manual reconfiguration
- Always back up your .crt, .key, and .pem files securely
- Monitor your SSL status using online tools or CertPanel’s SSL Monitor