OCSP stapling improves SSL/TLS performance by making your Apache web server attach (i.e., “staple”) its certificate’s status information to the TLS handshake. This prevents clients from sending additional requests to the certificate authority (CA), thereby reducing latency and page load performance issues.
In this tutorial, you’ll learn how to enable OCSP stapling on Apache in four steps (we’ll use CentOS and Ubuntu platforms as examples with the SSLUseStapling On command). You’ll also explore how to verify the configuration using CertPanel SSL Monitor.
What You’ll Learn
- How to turn on OCSP stapling on an Apache HTTP Server.
- How to verify OCSP stapling settings using CertPanel SSL Monitor.
Prerequisites
Before you start:
- Your website must have a valid SSL (or, more accurately, TLS) certificate.
- You must have sudo/root access to your Apache configuration files on your CentOS or Ubuntu server.
- You must have a CertPanel SSL Monitor account for verification.
How to Enable OCSP Stapling on Your Apache Server
For this step, activate OCSP stapling on your Apache server using the SSLUseStapling On command. Whether you’re using CentOS or Ubuntu, the steps are almost identical — there are only a few real differences between them, namely:
- where the configuration file is located, and
- where you’ll specify the settings and enable OCSP
Step One: Open Your Configuration File for Editing
- To open the Apache configuration file for editing in CentOS:
# vim /etc/httpd/conf.d/ssl.conf - To access the Apache default.conf file in (Ubuntu):
# vim /etc/apache2/sites-available/default.conf Step Two: Set Your Configurations
- To specify your SSL stapling settings in Apache CentOS: add the following lines to the <VirtualHost _default_:443> block:
# OCSP Stapling settings for CentOS

SSLStaplingCache "shmcb:/var/run/ocsp_stapling(128000)"

# Enable OCSP Stapling

SSLUseStapling On

SSLStaplingResponderTimeout 5

SSLStaplingReturnResponderErrors Off- For Apache Ubuntu users: You’ll add virtually the same information to your default.conf file, but you’ll add it to the http block instead. The only difference is that you’ll remove the first line (i.e., “# OCSP Stapling settings for CentOS”).
Step Three: Confirm That Your Certificate File Paths Are Correct
Use an amended version of the following commands to ensure your certificates’ file paths and names are properly set using the following example:
SSLCertificateFile /etc/ssl/certs/exampledomain_com_cert.crt

SSLCertificateFile /etc/ssl/private/exampledomain_com_keyfile.key

SSLCertificateFile /etc/ssl/certs/yourCA_cert_bundle.crt
Here’s a quick example of what that may look like:
SSLCertificateFile /etc/ssl/certs/certpanel_itsatestsite_online.crt

SSLCertificateKeyFile /etc/ssl/private/private_key.key

SSLCertificateChainFile /etc/ssl/certs/ca_bundle.ca-bundle
Step Four: Restart Apache to Apply the Changes
- To restart Apache CentOS, use the following command:
# sudo systemctl restart httpd - To restart Ubuntu, you’ll use a slightly different one:
# sudo systemctl restart apache2Explore how to implement these configurations in our step-by-step tutorial:
How to Verify Your OCSP Stapling Settings Using CertPanel SSL Monitor
The good news is that there’s an easier way to tell whether your OCSP stapling isn’t set up right. In CertPanel, the SSL Monitor offers an intuitive visual dashboard that allows you to easily keep an eye on your OCSP stapling configurations (and 110+ other SSL-related settings and vulnerabilities) to ensure your domain’s security is up to snuff.
- Sign into CertPanel SSL Monitor and check your domain (e.g., certpanel.itsatestsite.online). Don’t have a login? No worries— you can sign up for a new account in no time.
- After scanning your domain, check to see if your report is available. To access it, go to the OCSP section of the report and you should see the following message:
OCSP Stapling: Offered
- Do you see “Not Provided” or “Revoked” instead? Recheck your chain file and Apache settings.
- Your OCSP is now validated and secured. Remember to recheck after certificate renewals.
Here’s a quick overview that walks you through how to check whether OCSP stapling is enabled in CertPanel SSL Monitor:
Monitor OCSP Stapling with CertPanel
CertPanel lets you:
- Monitor your server’s OCSP status daily
- Receive alerts on certificate expiration or config-related issues
- Auto-renew certificates and validate OCSP instantly
For enterprises or those managing multiple sites, this automation saves time and ensures 100% coverage.
Troubleshooting
Problem: No OCSP Response in CertPanel
- Solution: Check whether your certificate supports OCSP. (NOTE: Free CAs sometimes don’t.)
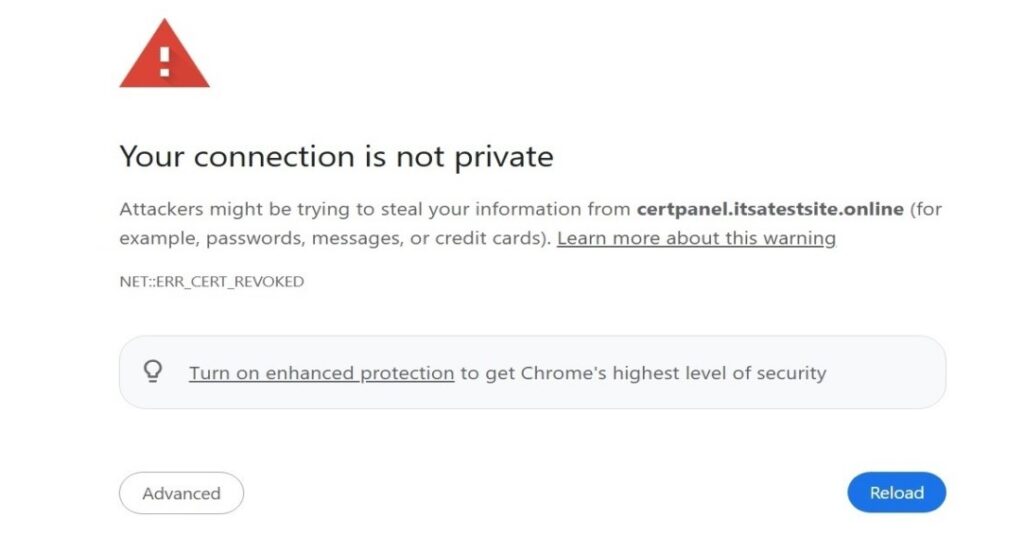
Problem: The SSL/TLS Certificate Has Been Revoked
- Solution: If a certificate is revoked, the browser may show errors like “Your connection is not private.” You must replace the certificate wiht a valid one immediately.
Problem: Incomplete Intermediate Certificate Configuration
- Solution: Your SSLCertificateChainFile configuration is improperly set, or it’s either missing the intermediate CA certificate or has the wrong one installed. To fix it, double-check to ensure your certificate bundle file contains the right valid ICA certificate and that the file path and name are set correctly.
Final Thoughts on OCSP Stapling in Apache
Enabling OCSP Stapling by setting SSLUseStapling to “on” boosts your site’s performance and ensures better trustworthiness. Apache provides native support, and CertPanel makes verification and monitoring painless. For modern SSL setups, this should be a default best practice.